WorkOS MCP Server
Manage your WorkOS workspace with AI agents. The WorkOS MCP server lets any Model Context Protocol client manage organizations, users, SSO connections, and more.
The WorkOS MCP server is a remote management Model Context Protocol server that lets MCP-compatible AI agents act on your WorkOS workspace. Once connected, your agent can read and change the same dashboard data you can (managing organizations, connections, users, branding, and more) by calling the WorkOS API on your behalf.
If you are instead building your own MCP server and want to secure it with OAuth, see AuthKit for MCP.
The MCP server acts as you: it inherits your dashboard role and can only do what your account is allowed to do. See Permissions for details.
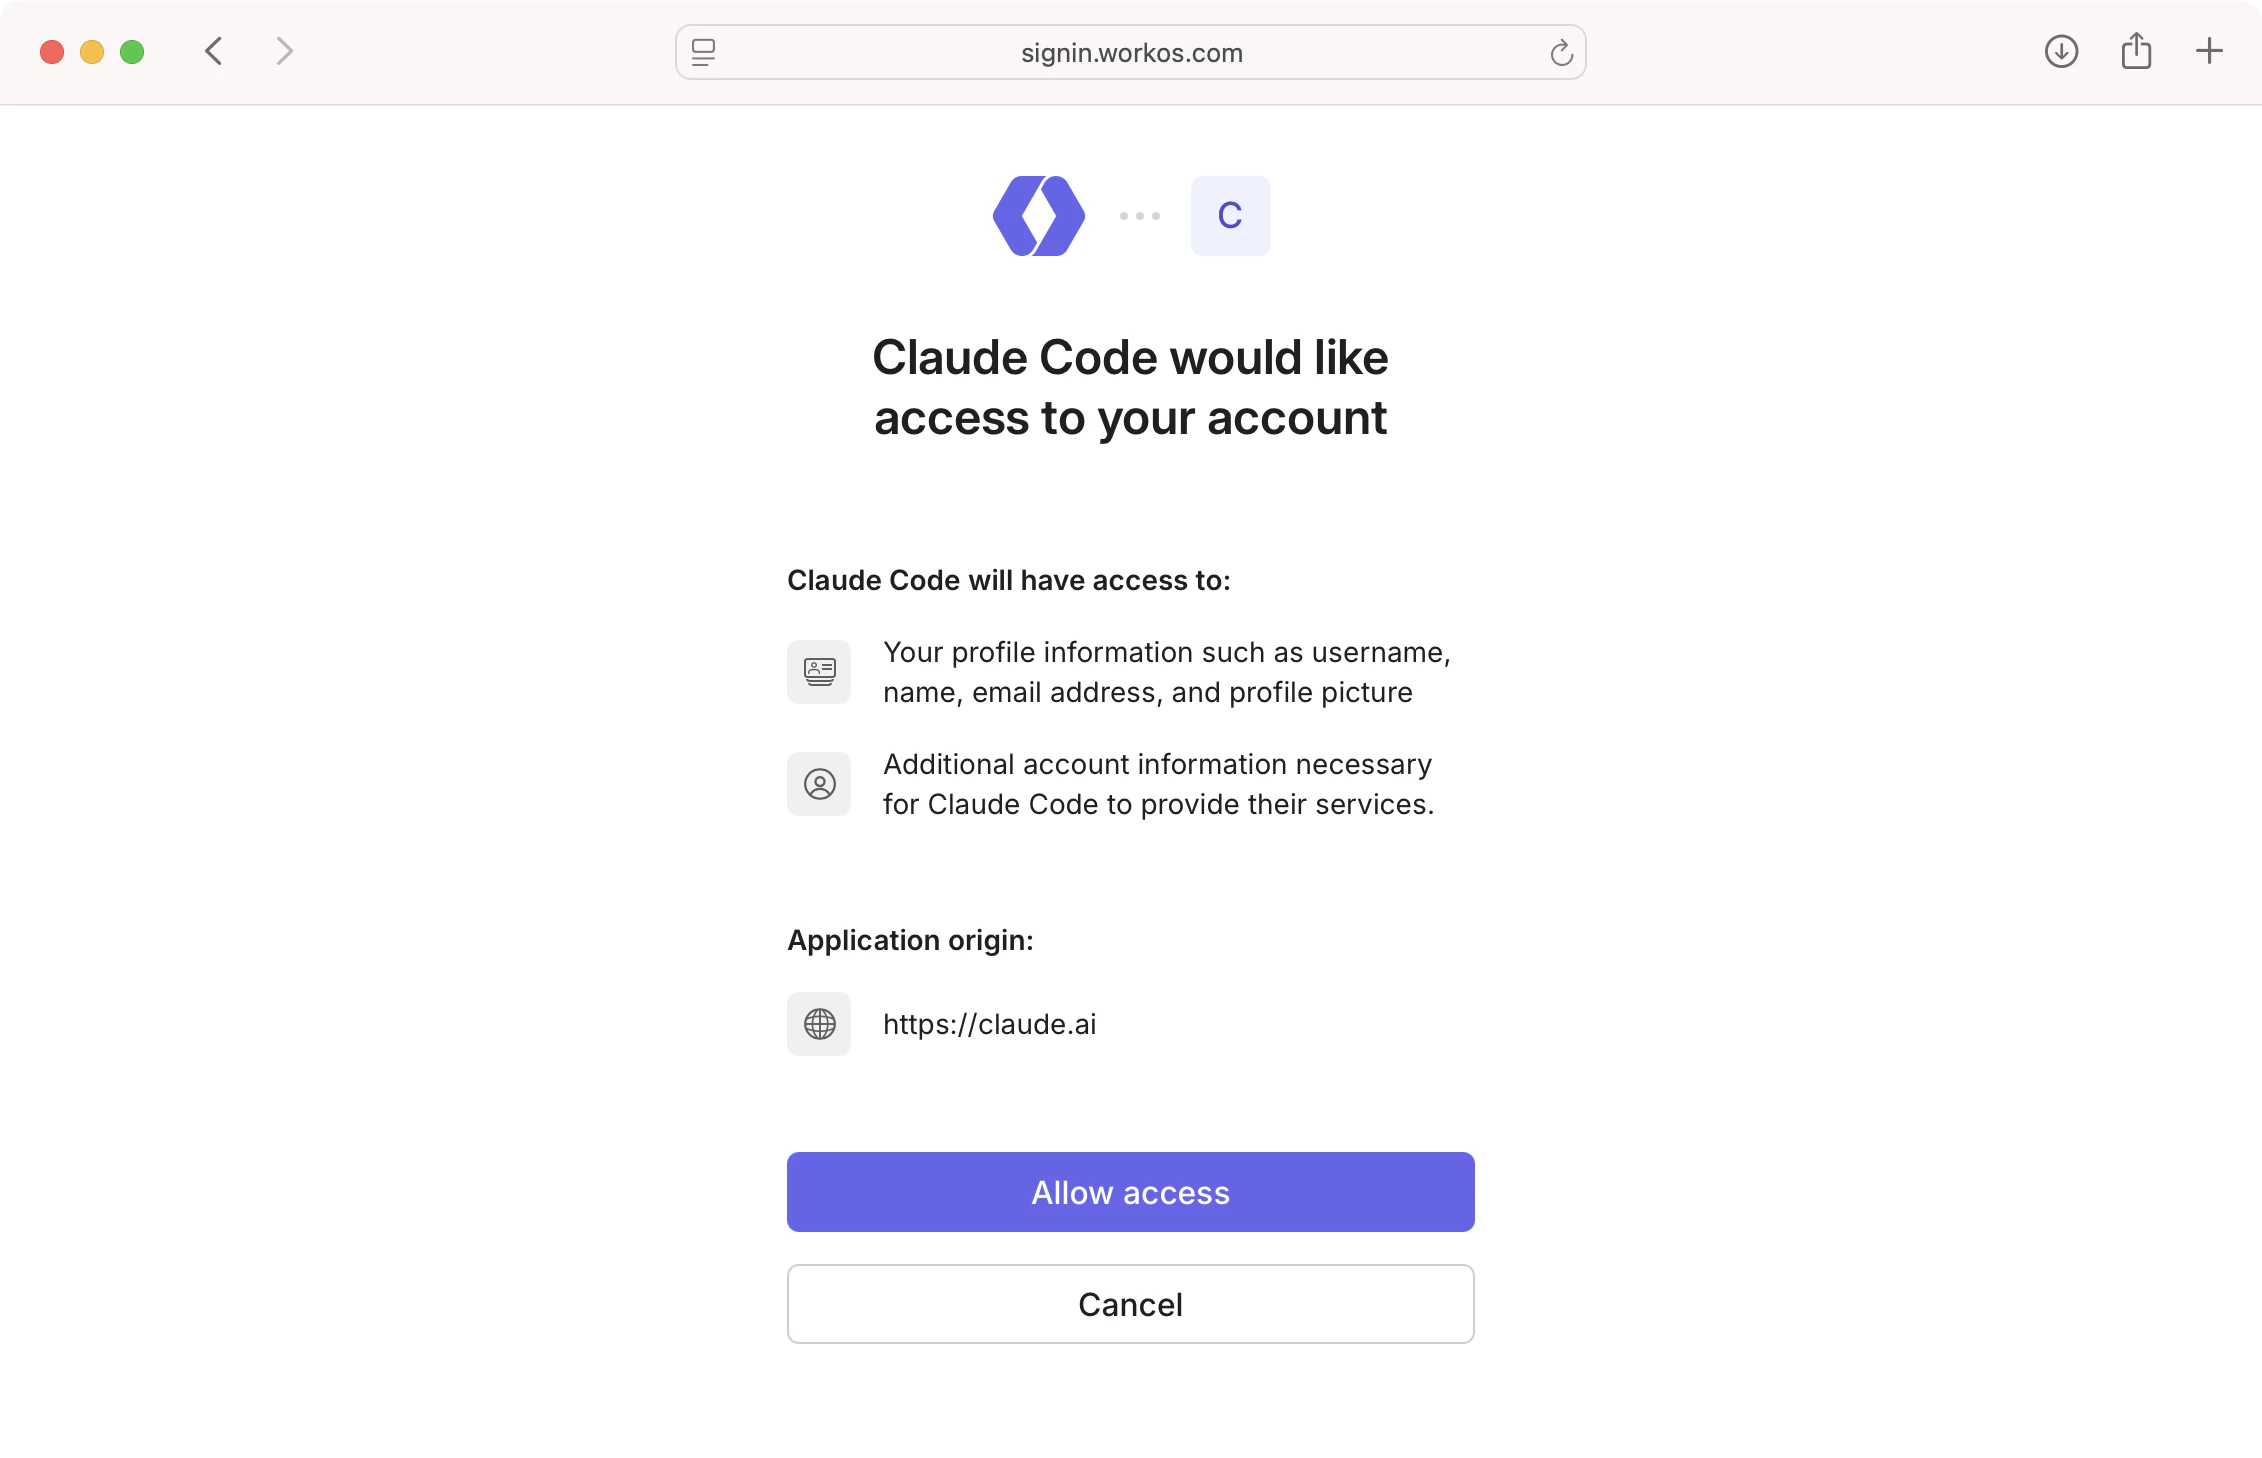
Every client connects over streamable HTTP and authenticates with OAuth using WorkOS Connect. The first time you connect, your client opens a WorkOS consent screen where you sign in and approve access. After you approve, the agent is connected as your account.
Pick your client below for setup steps.
Open the MCP settings and add a new server with the URL https://mcp.workos.com/mcp, or add it to the MCP config directly:
Complete the OAuth consent when prompted to finish connecting.
- Open Settings → Connectors (available on ChatGPT Pro, Business, and Enterprise).
- Click Add custom connector (you may need to enable developer mode first).
- Name it
WorkOSand enter the MCP server URLhttps://mcp.workos.com/mcp. - Complete the OAuth consent to finish connecting.
Run the following, then complete the OAuth consent in your browser to finish connecting:
Use /mcp inside Claude Code to check the connection status or sign in again.
- Open Settings → Connectors.
- Click Add custom connector.
- Name it
WorkOSand enter the URLhttps://mcp.workos.com/mcp. - Click Add, then Connect and complete the OAuth consent to finish connecting.
Choose where Codex should make the WorkOS MCP server available.
User-global setup
Use this option when the server should be available in every Codex project for your user:
codex mcp add registers the server in your user-level Codex configuration at ~/.codex/config.toml.
Project-only setup
Use this option when the server should be available only in one trusted repository. Add the following at <repository-root>/.codex/config.toml:
From that repository root, run:
Codex loads project-level .codex/config.toml files only for trusted projects and only while operating in that project. Commit the project-level server definition only when your team intends to share it.
For either scope, codex mcp get workos confirms that Codex discovered the intended definition, while codex mcp list shows the endpoint and authentication type. These commands do not prove that an OAuth credential is usable, so complete codex mcp login workos in your normal host shell. Restart any running Codex session after approving the WorkOS consent screen.
Avoid defining the same workos server at user and project scope unless you intend the project definition to override your user-level configuration. The configuration file contains the server definition, not its OAuth credential. Codex stores OAuth credentials separately according to your user-level credential-store settings; never add credentials to .codex/config.toml or commit them.
Add the server to ~/.cursor/mcp.json (global) or .cursor/mcp.json (per project):
Open Settings → MCP, then click Login next to the WorkOS server and complete the OAuth consent to finish connecting.
Add the server to your Factory MCP config (~/.factory/mcp.json):
Complete the OAuth consent when prompted to finish connecting.
Run goose configure, choose Add Extension → Remote Extension (Streaming HTTP), and enter the URL https://mcp.workos.com/mcp. Complete the OAuth consent when prompted to finish connecting.
Add the server to your opencode.json:
Complete the OAuth consent when prompted to finish connecting.
Add the server to .vscode/mcp.json:
Start the server from the mcp.json editor (or run MCP: List Servers from the Command Palette) and complete the OAuth consent to finish connecting.
Add the server to ~/.codeium/windsurf/mcp_config.json:
Reload the server list in the Windsurf MCP settings, then complete the OAuth consent to finish connecting.
Add the server to your Zed settings.json (Zed → Settings → Open Settings):
Complete the OAuth consent when prompted to finish connecting.
For any other MCP client, add a remote MCP server using the URL https://mcp.workos.com/mcp. The client will open the WorkOS consent screen so you can sign in and approve access. Complete the OAuth consent to finish connecting.
If Codex reports MCP startup interrupted. The following servers were not initialized: workos, the server may be configured but not authenticated.
- Run
codex mcp get workosfrom the project where you expect the server to be available. If Codex cannot find it, check that you are in the intended repository and that Codex trusts the project, or use the user-global setup above. - Run
codex mcp login workosand complete the WorkOS consent flow in your browser. - Run
codex mcp listto verify the server endpoint and OAuth authentication type. - Restart Codex so the current session can initialize the authenticated server.
Run browser, credential-store, and certificate-sensitive authentication commands from your normal host shell. An authentication failure that occurs only inside an isolated agent environment does not prove that the WorkOS MCP server is unavailable.
If authentication succeeds but WorkOS access remains disabled, ask a team admin to check the WorkOS MCP controls in the team authentication settings.
When you connect, the agent authenticates as your dashboard account and assumes your exact role and permissions. Every operation runs through the same access controls that govern the dashboard, so the agent can only read and change what you can. A member without admin rights can’t use the agent to perform admin-only actions, and a read-only role can’t make any changes at all.
The agent works against one environment at a time, so it can’t accidentally change the wrong one. It defaults to a sandbox environment and only operates on production when you direct it to. Switching to production never escalates your access. The agent can only reach environments you already have access to in the dashboard, and your team’s admins can block production entirely.
Irreversible operations, like deleting an organization, connection, or directory, aren’t executed on the first attempt. Instead, the agent receives a description of exactly what the operation will destroy and must explicitly confirm before it runs. This gives you a chance to review the consequences, so a single ambiguous prompt can’t wipe out data.
Values like API keys and client secrets are stripped from responses before they ever reach the agent, so they can’t leak into its context or be echoed back in a chat transcript. Stripping only applies to returned values, so the agent can still set a secret value you provide without being able to read existing ones back.
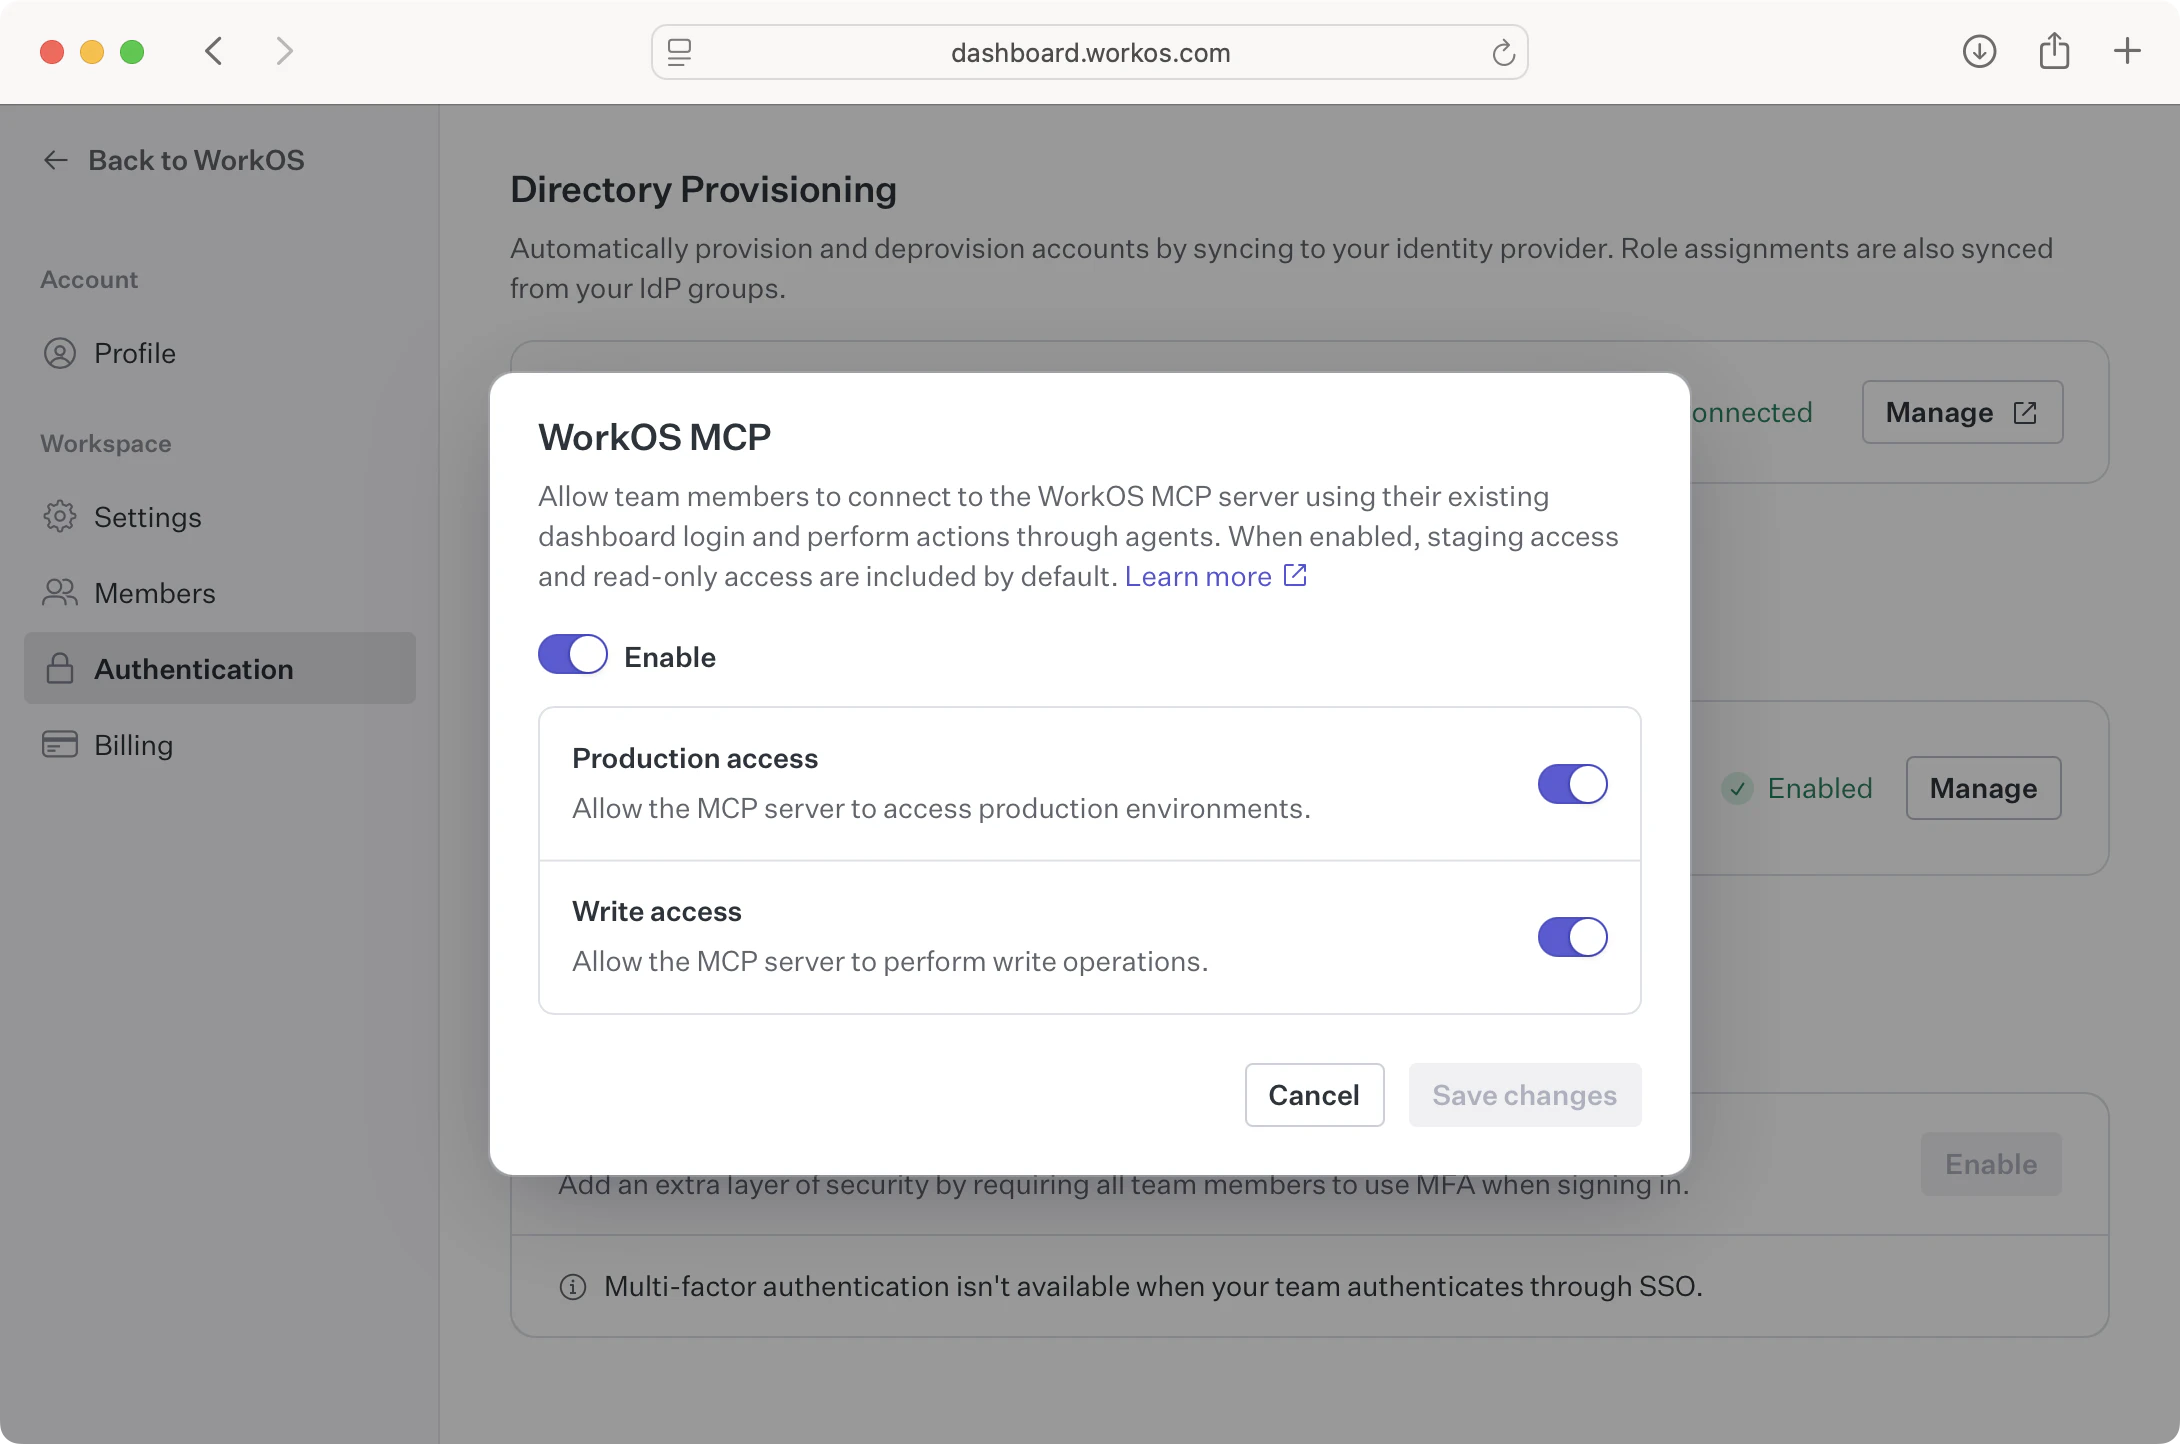
Team admins can restrict or completely disable MCP access for the whole team from the team authentication settings page. Three settings can be toggled independently, and all are enabled by default:
-
Enable: Allow this team to access the WorkOS dashboard over MCP. Turning this off disables MCP for the team entirely, which also disables the two settings below.
-
Allow production access: Allow agents to access production environments. When off, MCP can only reach sandbox environments. This never escalates anyone’s permissions: agents can still only reach production for members who already have production access in the dashboard.
-
Allow write access: Allow agents to perform write operations. When off, MCP is restricted to read-only operations.
Connect an agent and describe what you want in plain language. The agent discovers the right operations and runs them for you. Here are a few examples.
Brand your sign-in page from a screenshot
Debug a sign-in problem
Onboard a new customer
Understand your users
Manage a user
Audit your configuration
Stream audit logs
These are just starting points. Try to give agents tasks that you typically do in the dashboard.
Some dashboard capabilities are intentionally unavailable over MCP.
-
No impersonation. The dashboard’s user impersonation isn’t exposed to agents, and mutations are blocked on impersonated sessions. An agent always acts as you. It can’t act as one of your users.
-
Not every dashboard action. The agent works with the operations WorkOS has enabled for MCP (managing organizations, connections, users, branding, and more), but the most sensitive actions are intentionally left out. It can’t change the MCP access settings that govern its own access, mint or rotate credentials such as API keys, OAuth client secrets, and signing certificates, or delete your WorkOS team.
-
One team at a time. The agent is scoped to the team you authenticate with. It can’t read or change resources belonging to another team.